Getting Started: The Onboarding Process
In this guide, we will walk you through the entire platform in the order that will make the most sense for you to onboard your data and create your statements.
The Onboarding Process
- Customise your Client’s Settings – Here you configure your client & specify the building blocks for your data. More info
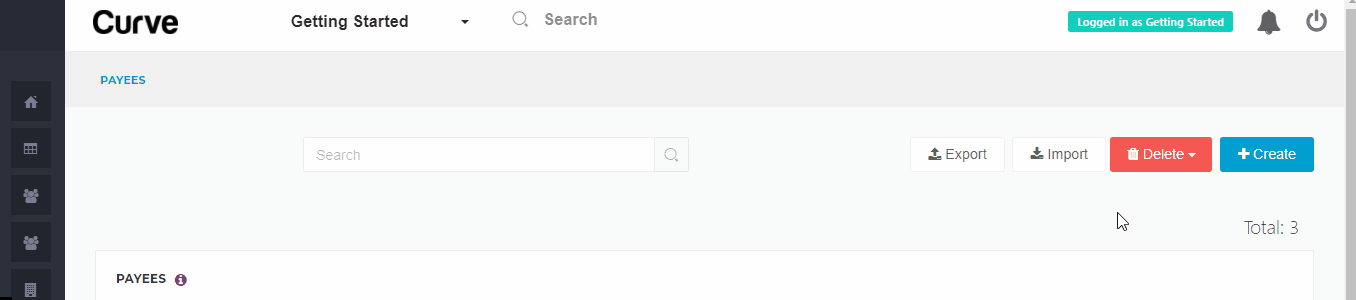
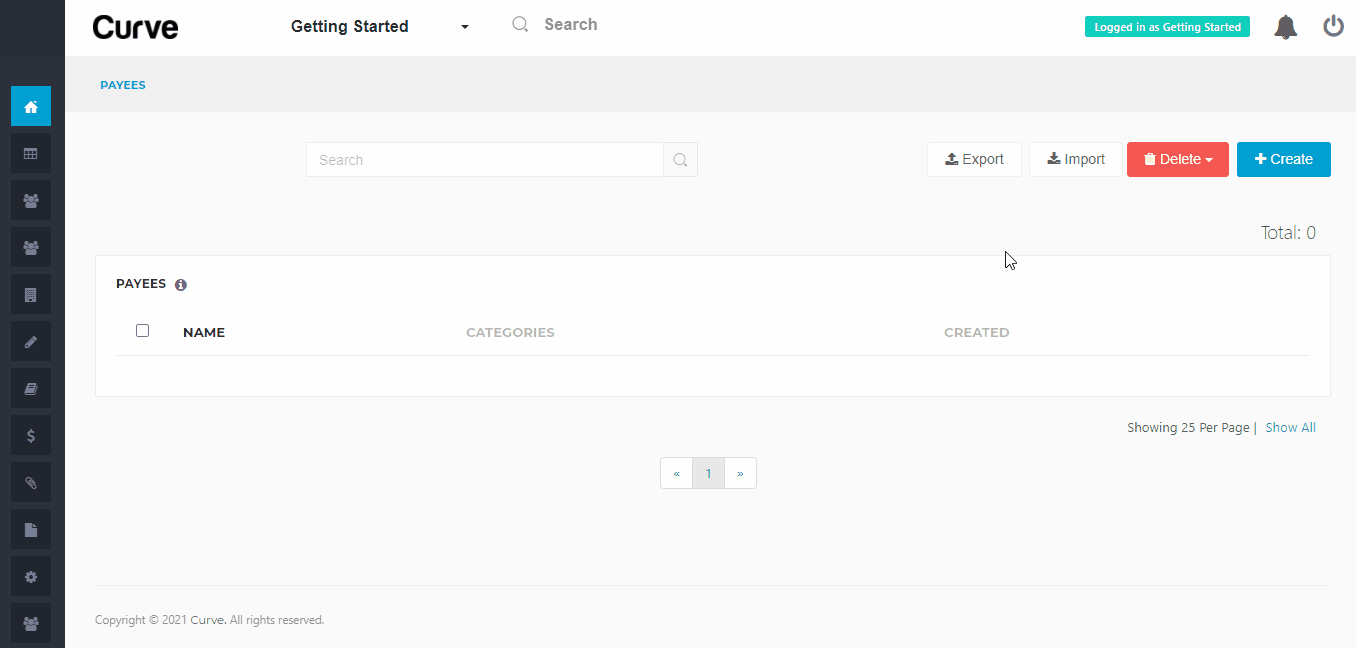
- Create a Payee for every artist – Each Payee represents a statement beneficiary. By creating a Payee, you essentially create an artist portal. More info
- Create a Contract for every artist – Here you define your artist deals and their terms. Each artist will need their own Contract, and each Contract will be mapped to a Payee. More info
- Add your Catalogue – This is where you build your Releases and Tracks. Each Track or Release is associated with one or many contracts, so you will need your Contracts in place in order to complete this step. More info
- Import your Sales data – When dropping your statements onto our sales page, Curve will instantly recognise, import & map down your sales data. Our Templates handle hundreds of different statement formats from an equal amount of sources. More info
- Create your Costs – Add your costs, using the user interface or via Excel upload. More info
- Run your Period & Create Statements – After all of your sales and costs are ready, you can now pull it all together as part of a Period & create your Statements. More info
- Give artists access to their portal – When creating Users, you artists will instantly receive an invitation to the Curve platform & gain access to their royalty statements. More info
For example, let's say you are working with the artist The Curves and have released their debut album We Are Royals. You will need to create a Payee for The Curves where they can collect their statements, then create a Contract for The Curves where you specify their royalty rates and link it back to their Payee, then create their recordings on the album as Tracks and create the album We Are Royals as a Release and connect these to The Curves contract. Once this metadata is ready you can start ingesting your sales files and costs which will connect to the Tracks & Releases. And finally you can create a Period which will bundle these sales, apply The Curves' royalty rates and create a statement with a balance that is payable to the artist. Once you invite your artist as a User on Curve, they will be able to view their statement in their Payee portal.
Onboarding Metadata via Excel
Take a Look at Our Demo Data
